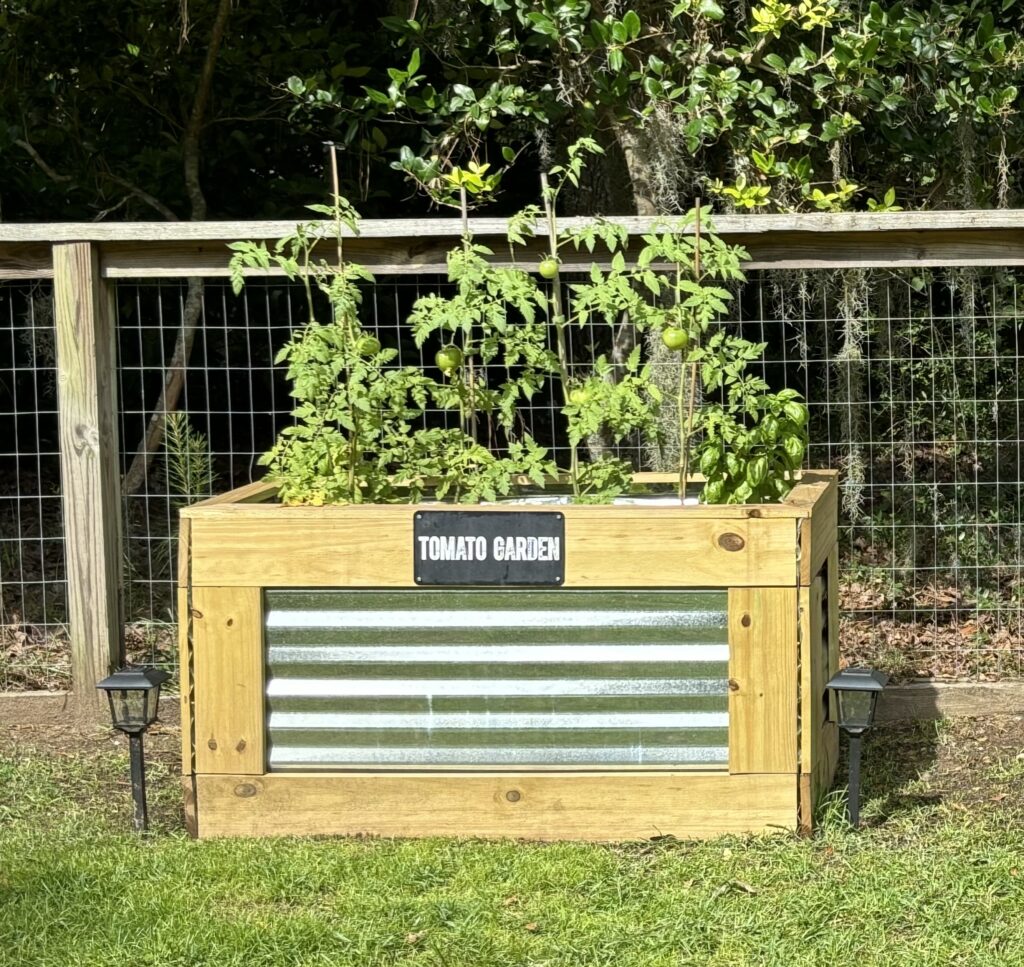
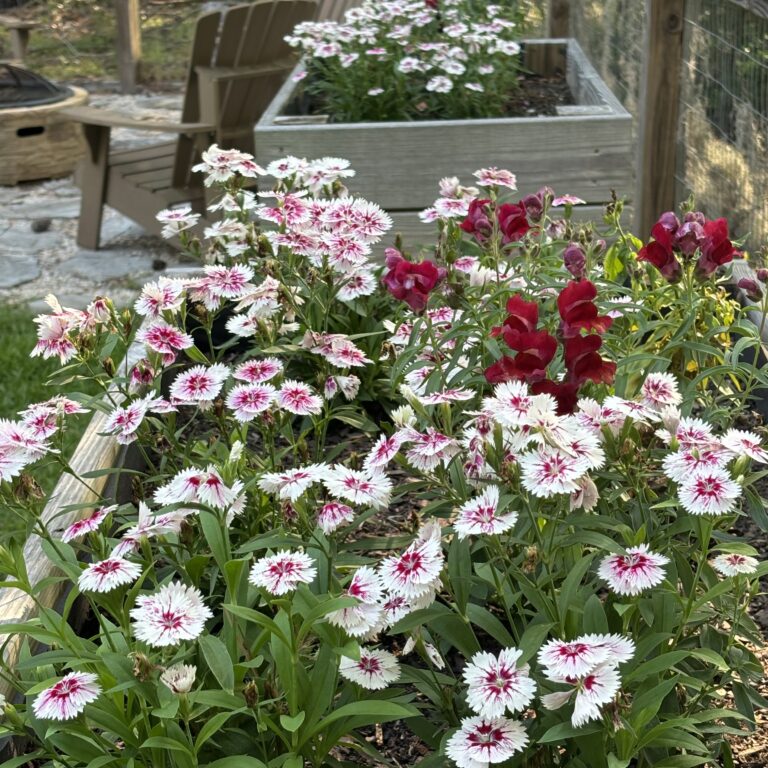
When I first moved to the Lowcountry, I already had a desire to begin a garden as I thought back to when I was a child and my grandmother tended to her roses outside of her kitchen window every morning. So, I decided to start with some basic raised garden beds! For the past few years, these traditional raised garden beds have worked well. But I wanted to try some corrugated metal raised garden beds.
This spring/summer, I wanted to try something new with a deeper bed that have a bit more soil. So I decided to add some corrugated metal planter boxes! Fortunately, I am lucky to have a husband who is extremely handy and built them for me. If you are handy or have someone to help you out, I highly recommend this DIY project because each of them only cost approximately $50 plus the soil and plantings! An added bonus is that they are easy to make, especially if you follow along with the pictures below.
Here is what you need:
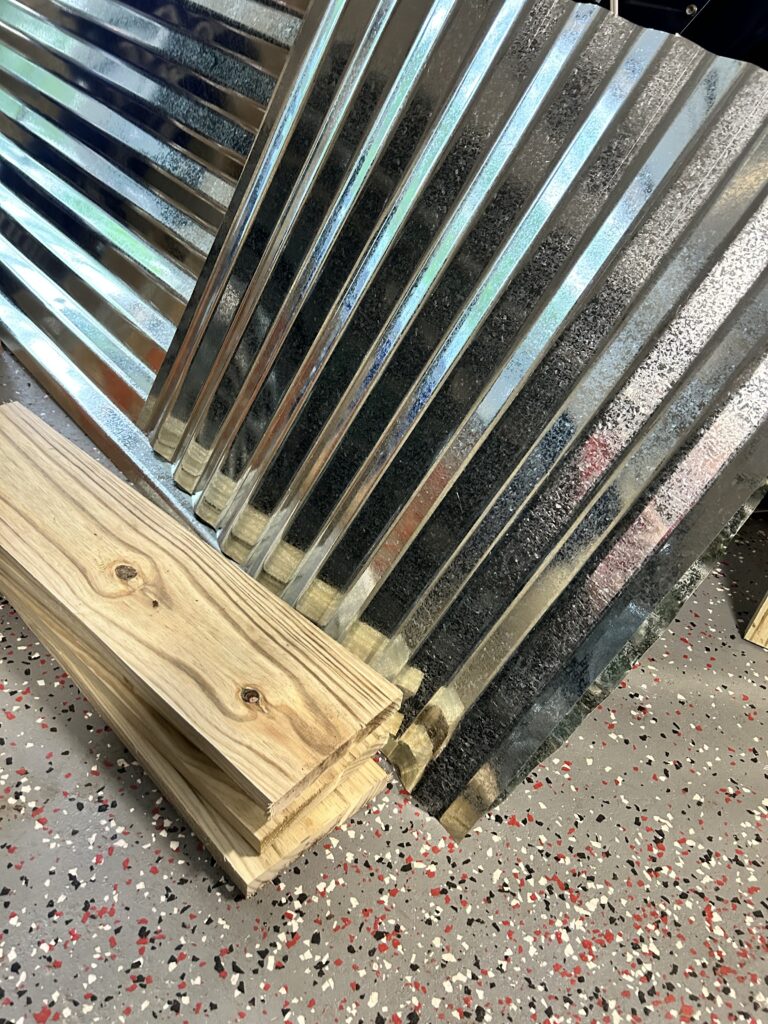
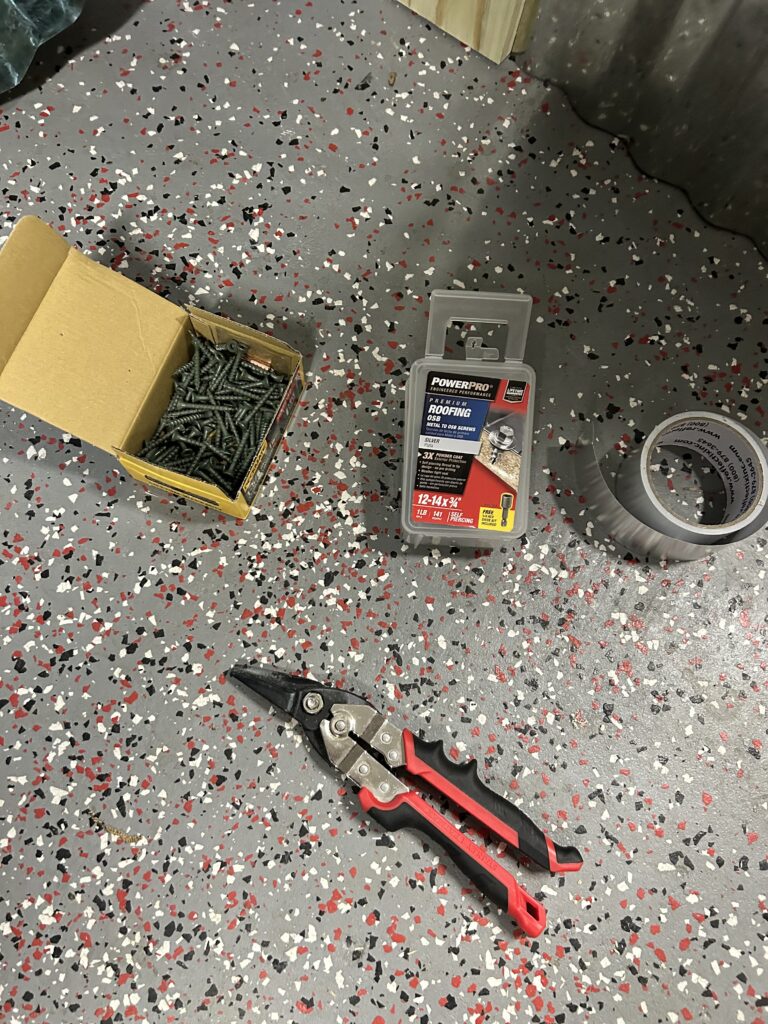
- 1 Box Decking Screws (see pic)
- 1 Box ¾ in Roofing Screws (see pic)
- Silver HVAC tape (see pic)
- (5) 1x6x8 sheets of pressure treated wood
- (2) 8 ft. sheets of corrugated steel
- Metal cutters
- Circular saw and/or miter saw
- Drill
- Stapler
- Protective gear (gloves and eyewear)
Time to Build Your Corrugated Raised Garden Beds:
We chose not to include a bottom on this planter box. You can easily add a bottom to it, if you would like by repeating the final step (see last step)! The first step is to cut the corrugated metal. Definitely wear some gloves to protect your hands because this can easily slice your skin. Also, I care about safety when doing projects, so I recommend some safety glasses here, too!
Cut the steel into 4 pieces
(2) 23.5 in x 26.5 in
(2) 48 in x 26 in
Cut the wood into 9 pieces
(4) 48 in x 5.5 in
(8) 5.5 in x 5.5 in
4) 15 in x 5.5 in
(1) 24 in x 5.5 in
Rip remaining wood into:
(2) 2 in x 50 in
(2) 2 in x 24 in
Instructions on building:
Attach one of the 48 in x 5.5 in wood pieces to the top edge of the 48 in x 26 in metal by using the roofing screws from the inside of the metal. *Note that the roofing screws will not be seen through the opposite side of the wood. Next, attach the bottom 48 in x 5.5 in wood piece using the roofing screws. Finally, add the sides to the metal by attaching the 5.5 in x 5.5 in piece of wood on both the left and right sides using the same roofing screws. Repeat this same process for both of the 48 in x 26 in corrugated metal sheets!
Let’s work on the side metal panels. Attach one of the 15 in x 5.5 in pieces of wood to the 23.5 in x 26.5 in metal panels from the inside using the roofing screws. Next, attach the bottom 15 in x 5.5 in wood piece using the roofing screws. Finally, add the sides to the metal by attaching the 5.5 in x 5.5 in piece of wood on both the left and right sides using the same roofing screws from the inside. Repeat the side process for both of the 23.5 in x 26.5 in corrugated metal sheets!
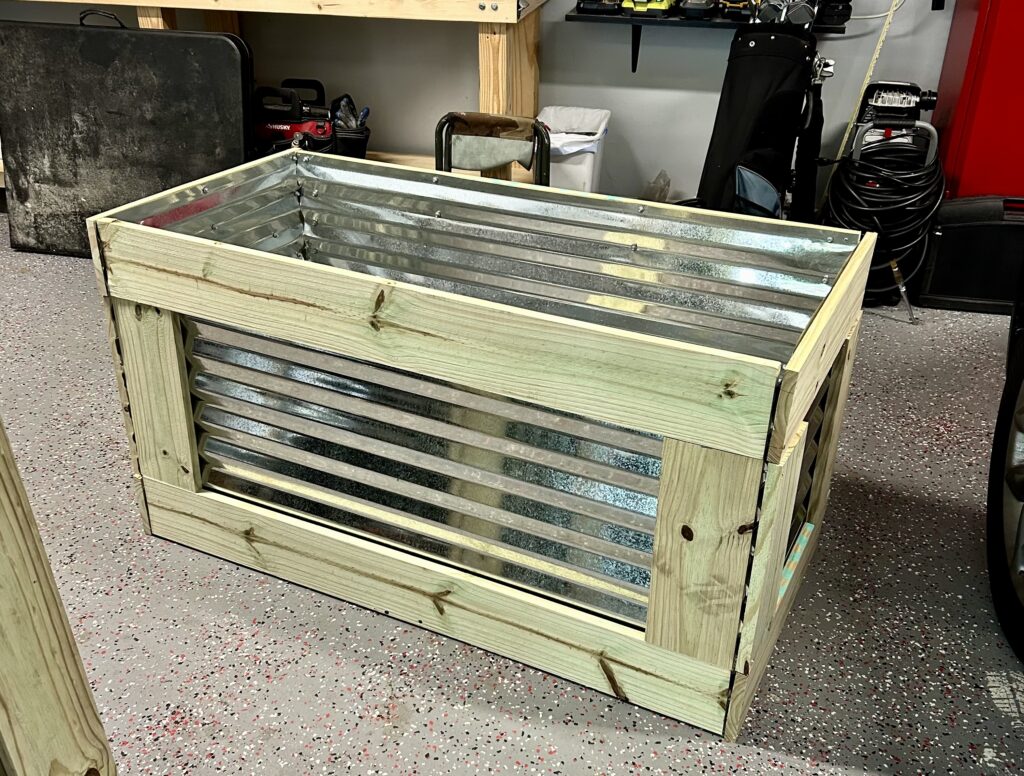
Also, attach the (2) 2 in x 50 in wood and (2) 2 in x 24 in together to make a frame for the top of the planter bed. It depends on how you prefer it to look if you like a mitered edge or a square edge!
Okay, now time to attach all 4 sides! (You may want to ask for a buddy to help you hold the sides together while you screw the 4 sides together). Use your decking screws to assemble the planter box by using your drill and screwing the wood sides together. Now get your HVAC tape! Use the tape to apply to the 4 inside seems of the metal. This will seal it for any potential leaking the soil out of the sides. Next, attach the top frame using your decking screws. The final step, you should have 1 more piece of wood leftover…use it as a stabilizer on the bottom, inside of the planter box by placing it in the center and screwing it in from the outside with your decking screws. Voilà!
A side note: If you simply add soil, it requires a LOT of soil. I recommend placing some large cinder blocks first before you add any soil. This also helps draining. Another recommendation is to place an organic weed barrier before you add any soil. This reduces the exposure of the metal to your wonderful garden goods!
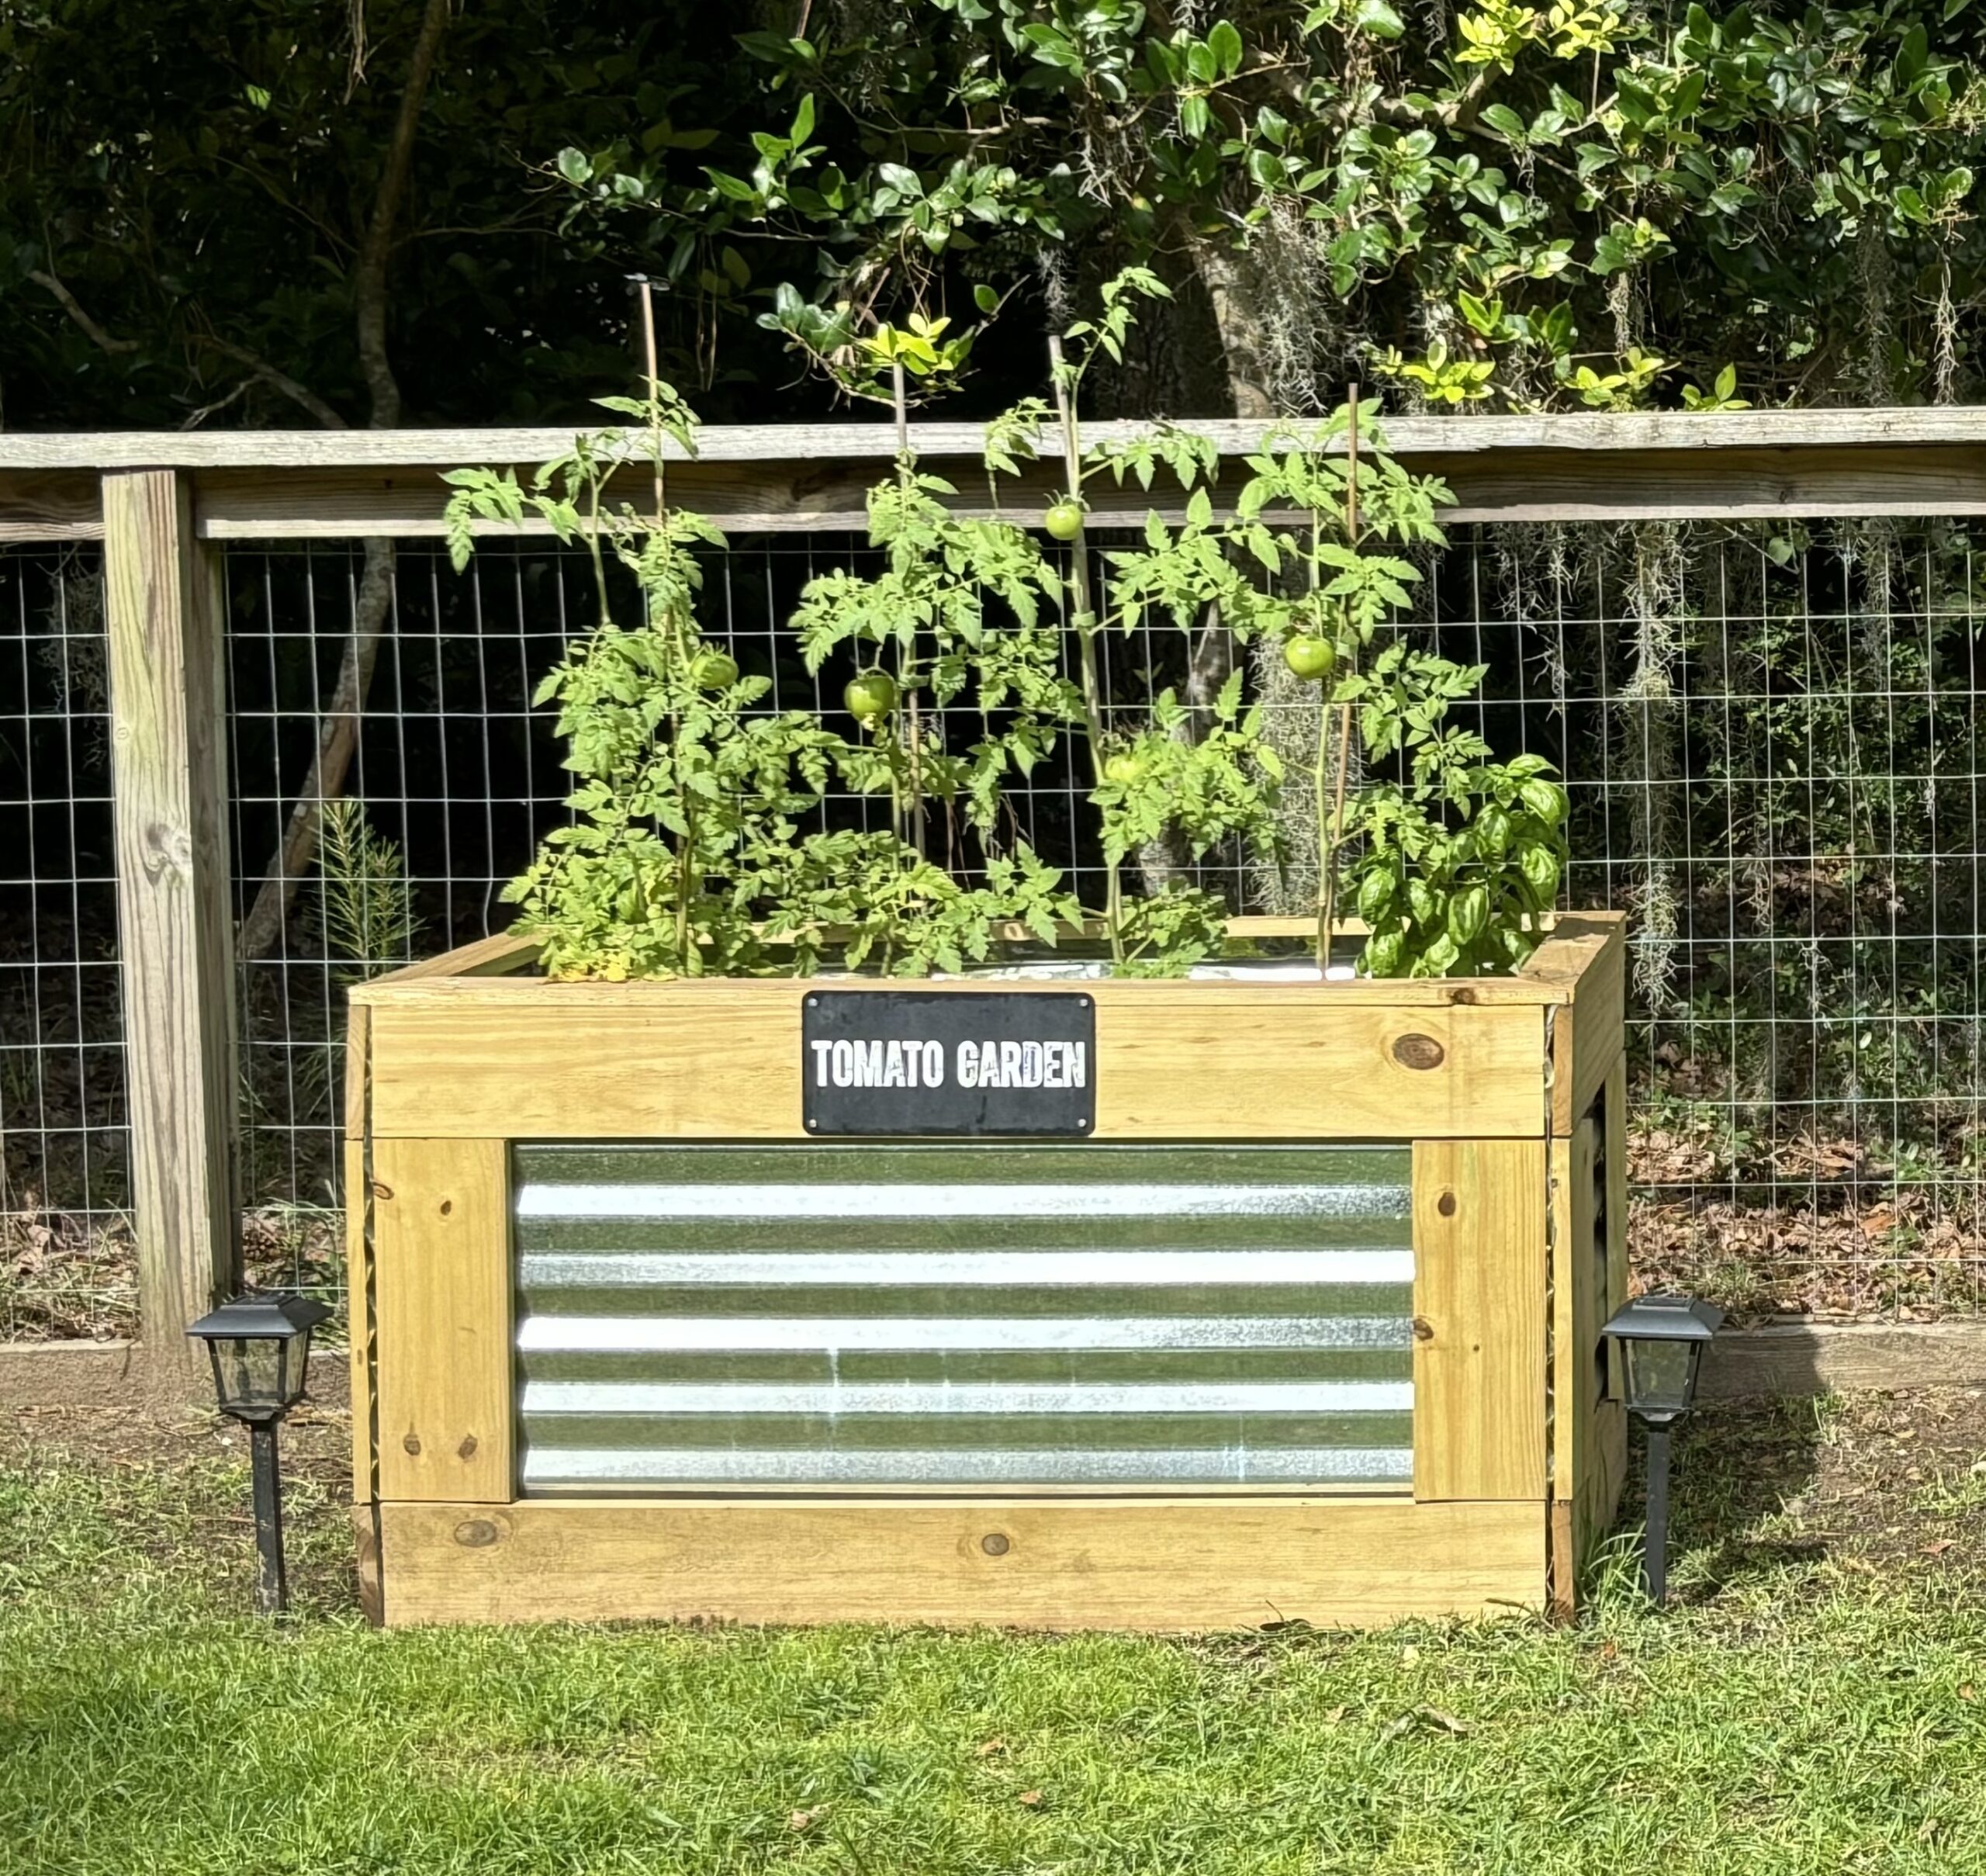
Here is the completed Planter Box in our garage before it was moved to the garden. When it was finished, soil was added, and the seeds were planted, I also ordered a super cute garden sign from a sign maker on Etsy! This was a fun addition to make a Lowcountry Lush tomato garden. Gardening inside of raised garden beds is such a peaceful use my time! For more on our tomato garden, visit https://instagram.com/lowcountry.lush
