This July I’ve decided to work on several DIY projects to add a little bit of tropical chic flair around areas of my house! The first one that I did was take a plain black chair and began a DIY rattan chair project. It is just your average wood chair and I have had it “forever”! After staring at it and trying to figure out what to do, I had an “ah-ha” moment and figured that I should add a bit of rattan. Transforming a simple chair into a personalized DIY masterpiece can be a rewarding project that adds charm and character to any space. Here is the chair before I started the DIY rattan chair project:
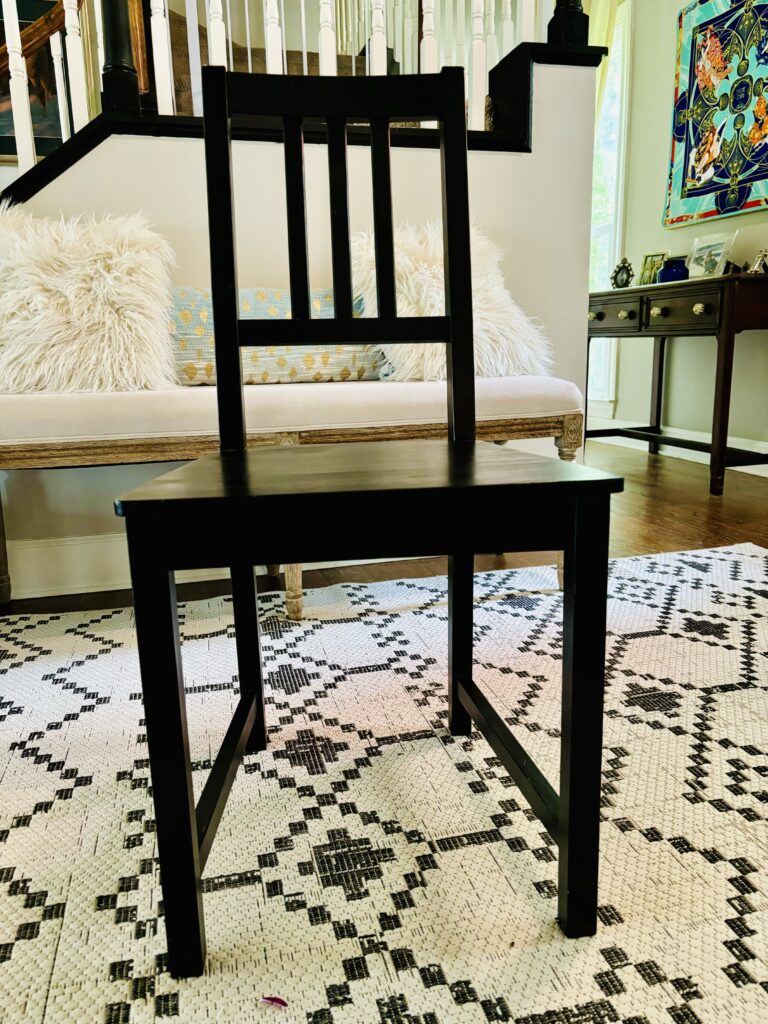
If you’re looking for a fun and rewarding project that adds a personal touch to your home decor, look no further than transforming an old chair into a stunning new centerpiece. Rattan chairs are timeless, offering both durability and a classic charm, but they can sometimes use a little rejuvenation to match modern tastes or fit into your current decor. Here’s a step-by-step guide to give your chair a stylish makeover in 3 easy steps.
DIY Rattan Chair GUIDE:
Before diving into the creative process, ensure your workspace is set up properly. Lay down a drop cloth to protect your floors and gather your materials: sandpaper, foam brushes, and the rattan. Begin by cleaning your chair thoroughly to remove any dust or grime. Next, use sandpaper to gently strip away the old finish and smooth out any rough spots on the seat. This step is crucial for ensuring that your glue adheres well and provides a flawless finish.
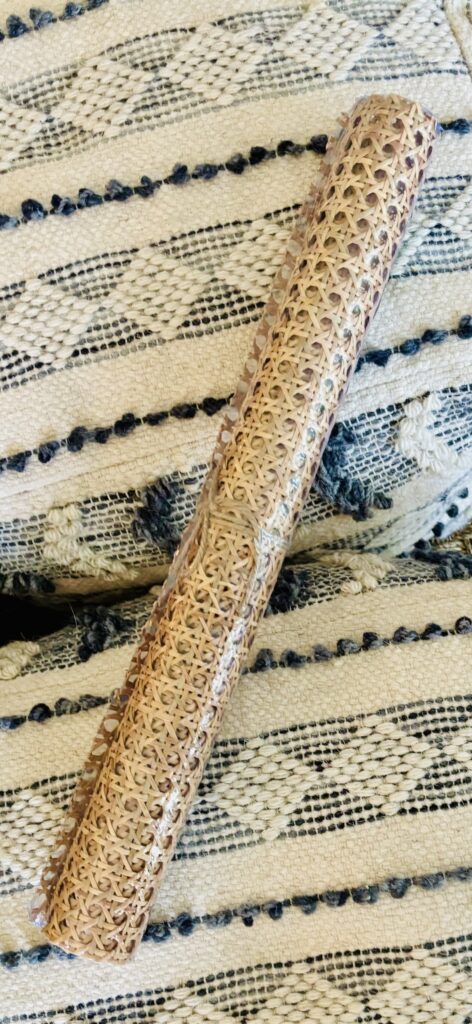
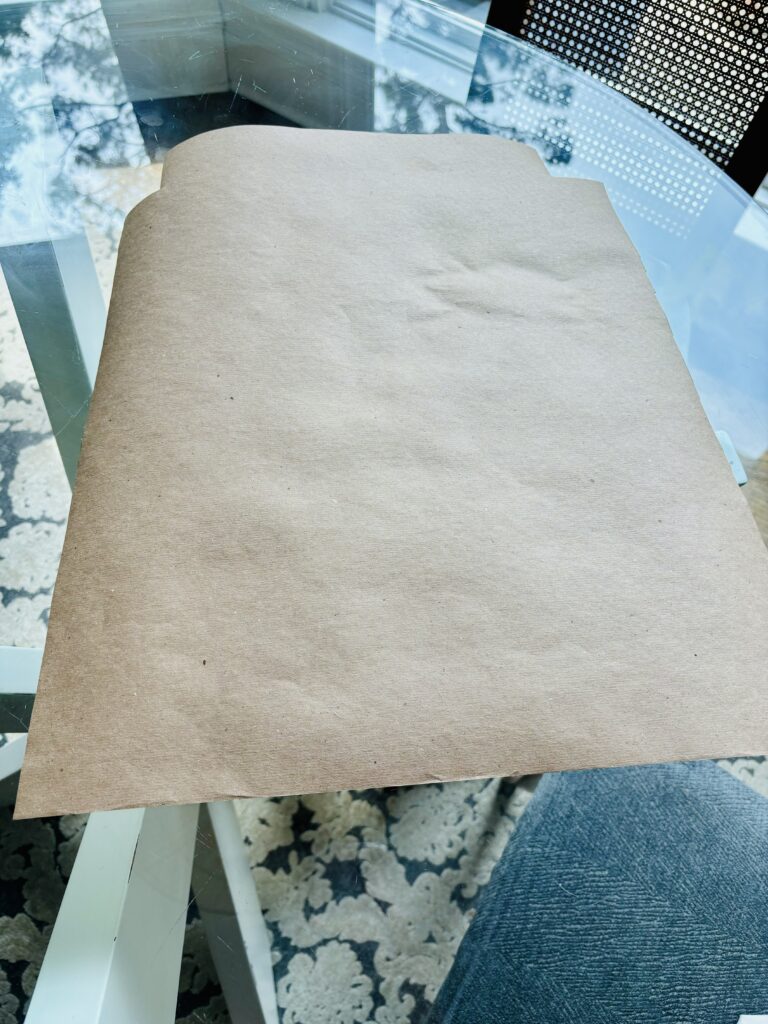
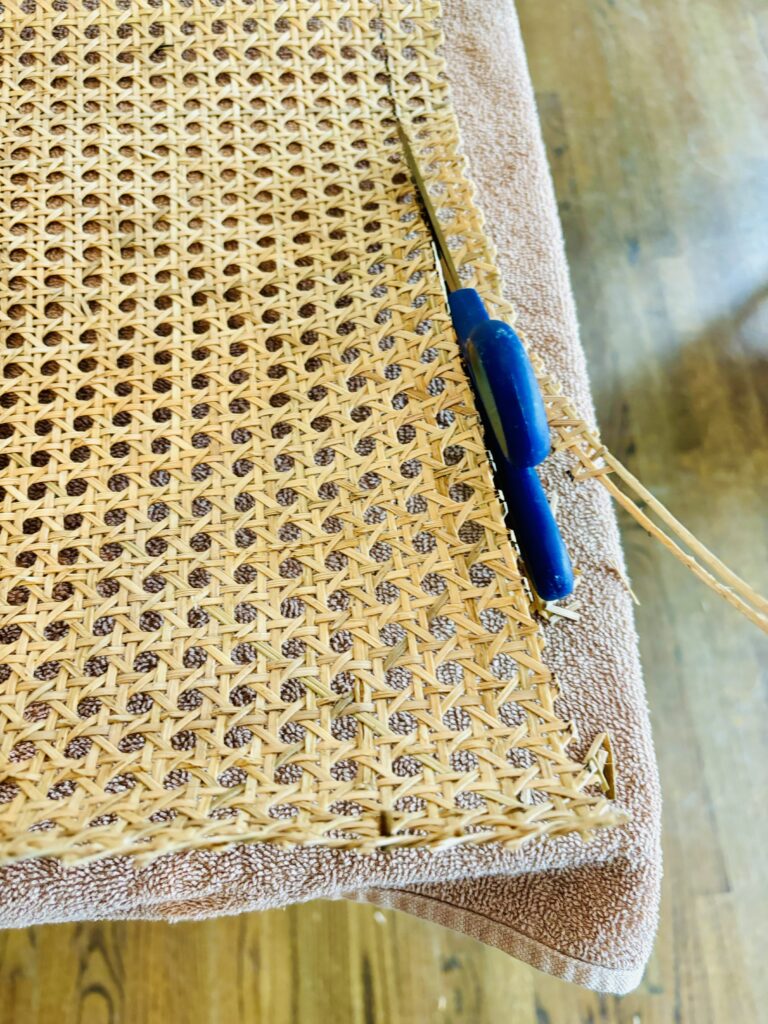
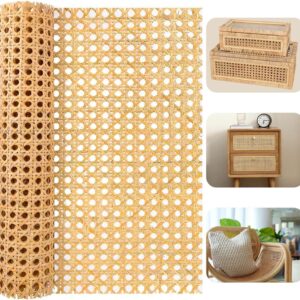
I found this roll of rattan that was the perfect shade! (You will notice that some people refer to rattan as wicker, when you are shopping for the rattan the words may be interchangeable.) If you’ve never worked with rattan, it’s important to note that you have to soak it in water for at least 30 minutes before it is able to shape. So I put into a nice bath! While my rattan was soaking, I made a template for the seat of my chair that I planned to cover. See below!
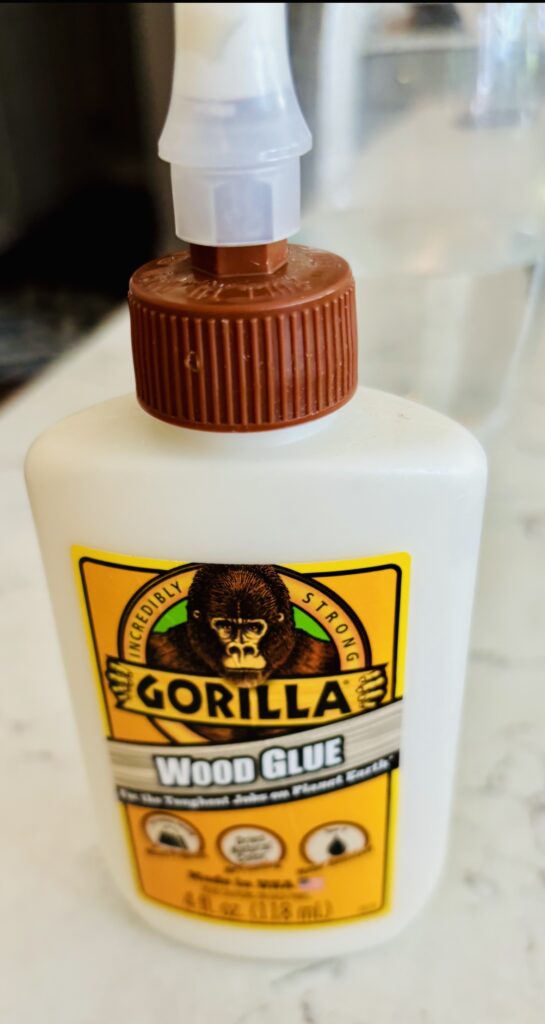
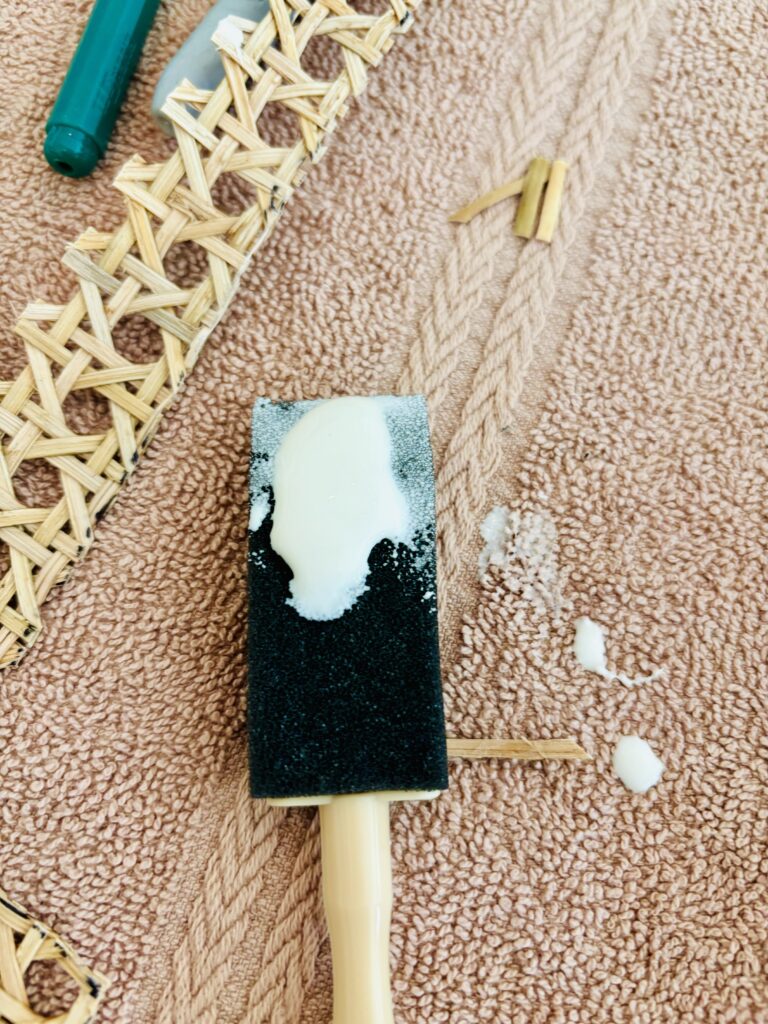
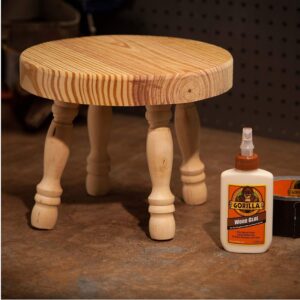
After 30 minutes of the rattan bath, I cut it out per the template, and allowed it to “mostly” dry in a utility towel. The next step was attaching the rattan to the chair! I used wood glue and with a foam brush, I brushed the glue onto the backside of the rattan, stuck the rattan onto the seat, and added some weights. Now, you can weight the rattan down with anything that you prefer – I used heavy cans of tomatoes! After several hours, I removed the cans and ta-da! A beautiful, yet simple rattan chair was born.
Styling with Accents:
To make your chair truly unique, consider adding personalized touches. You might paint designs or intricate patterns directly onto the rattan for a more modern aesthetic. Don’t be afraid to experiment—this is where your creativity can really shine. When your chair is complete, don’t forget the accents, such as throw pillows and other accessories! I definitely recommend that you give this project a try. This DIY rattan chair project not only revitalizes a classic piece of furniture but also allows you to infuse your unique creativity into your home decor. Enjoy your transformed chair as a testament to your creativity and DIY spirit! You can also see this project in my instagram post: instagram.com/lowcountry.lush
If you want to create a similar chair makeover, here are some links to purchase the same products that I used! As an Amazon associate, I earn from qualifying purchases.
